I DONT KNOW HOW BUT I MADE A PCB
2024-03-23
Last December I made a bold move to buy a ticket to iDKHOW's show in Detroit. The show is on April 5th.
I've heard of fans giving out handmade souvenirs on shows like this. In my mind I have a PCB with the band logo on it. The logo happens to be super regular shapes like lines and arcs. As long as I don't do it for profit, I'm fine. So I imagine I'd be at the show just handing them out to people.
Step 0: What do I make and how?
First idea: blinking LEDs like my previous PCB, Blobcat.
Too many parts, too much soldering. No time for that when I've got 18 credits of courses.
Second idea: a coil that harvests power from your phone's NFC and light an LED.
Much less soldering but physics is too hard. I can't even prove it's feasible.
Third idea: just a logo and nothing else.
Really easy to design but a waste of money if I pay a factory. But there's another option.
There's a Bantam machine at my uni that any student can use as long as they passed a quiz. The Bantam is basically a computerized milling machine. Instead of dissolving copper with chemicals like they do in factories, it mechanically etches off copper with a drill bit.
A common drill bit is 1/32 inch, or about 0.8 mm. This means I can't do fine traces. Not a problem.
Step 1: Design PCB
I created a PCB with KiCad with only two useful layers:
- F.Cu (front copper, where my design goes)
- Edge.Cuts (board outline and holes)
To minimize milling time, I need to maximize copper and minimize etching. So I fiddled around a bit and found such a design that looks ok:
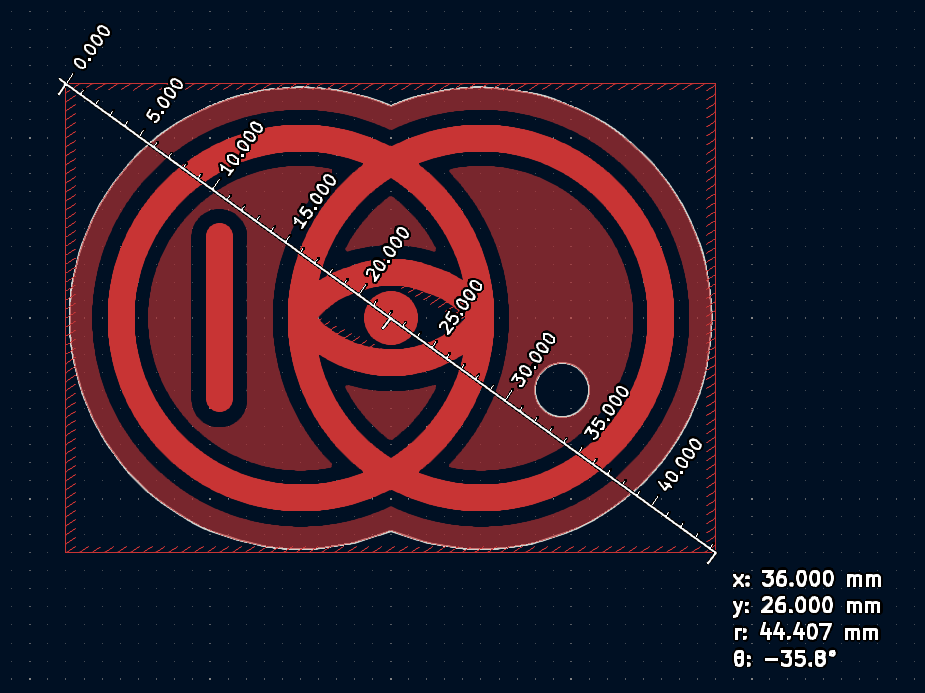
The red curves and pale red solid fill are copper and between them is where the drill bit goes.
Step 2: Use the Bantam
On 2024-03-20 at 18:00, I checked in at the machine shop. My friend guided me through the process and gave me his drill bit. The drill bit is carbide, but brittle at high speeds.
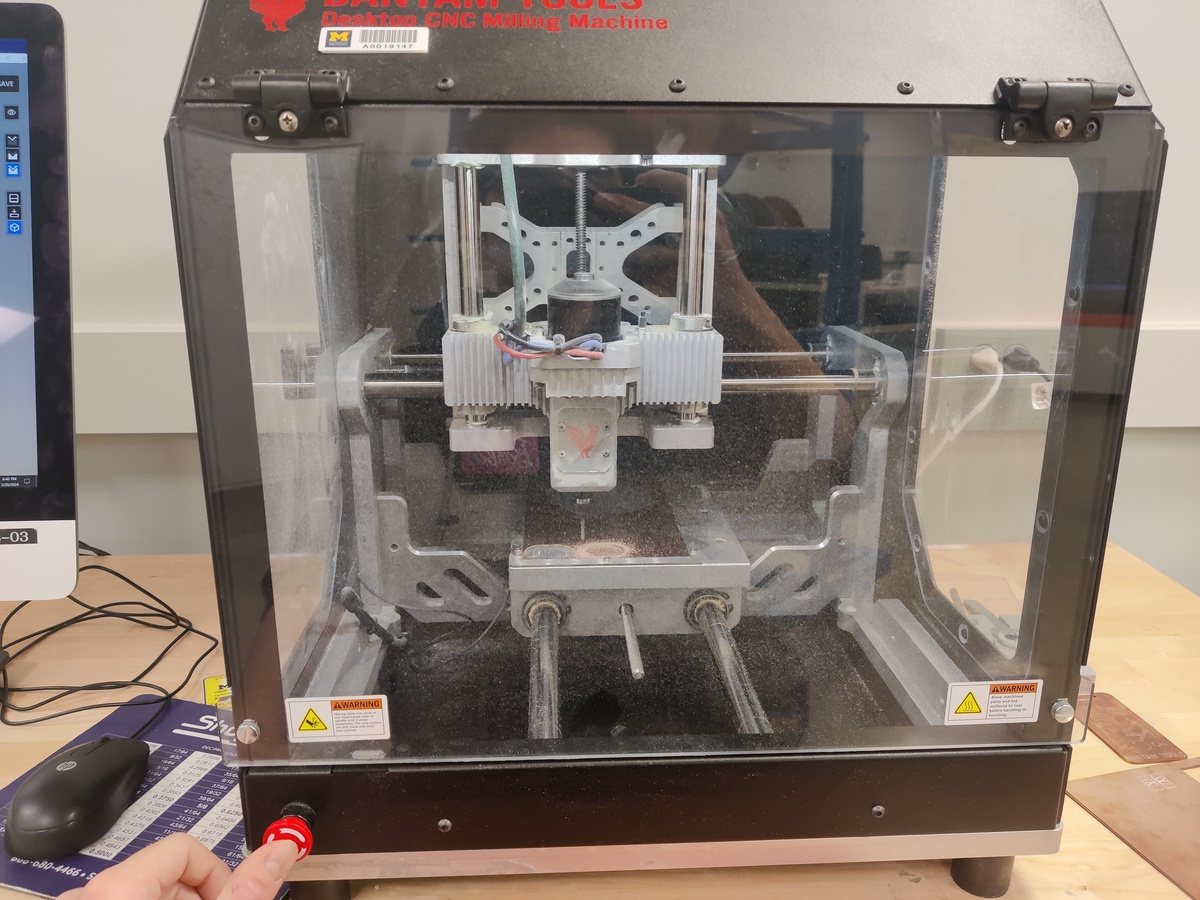
The drill bit rotates at a nerve-wrecking speed and copper shreds splashed everywhere (in the protective window, ofc). Each board took 9 minutes in the machine, plus some extra where I recalibrated the spindle. I had enough material for 9 of them, so it took around 2 hours.
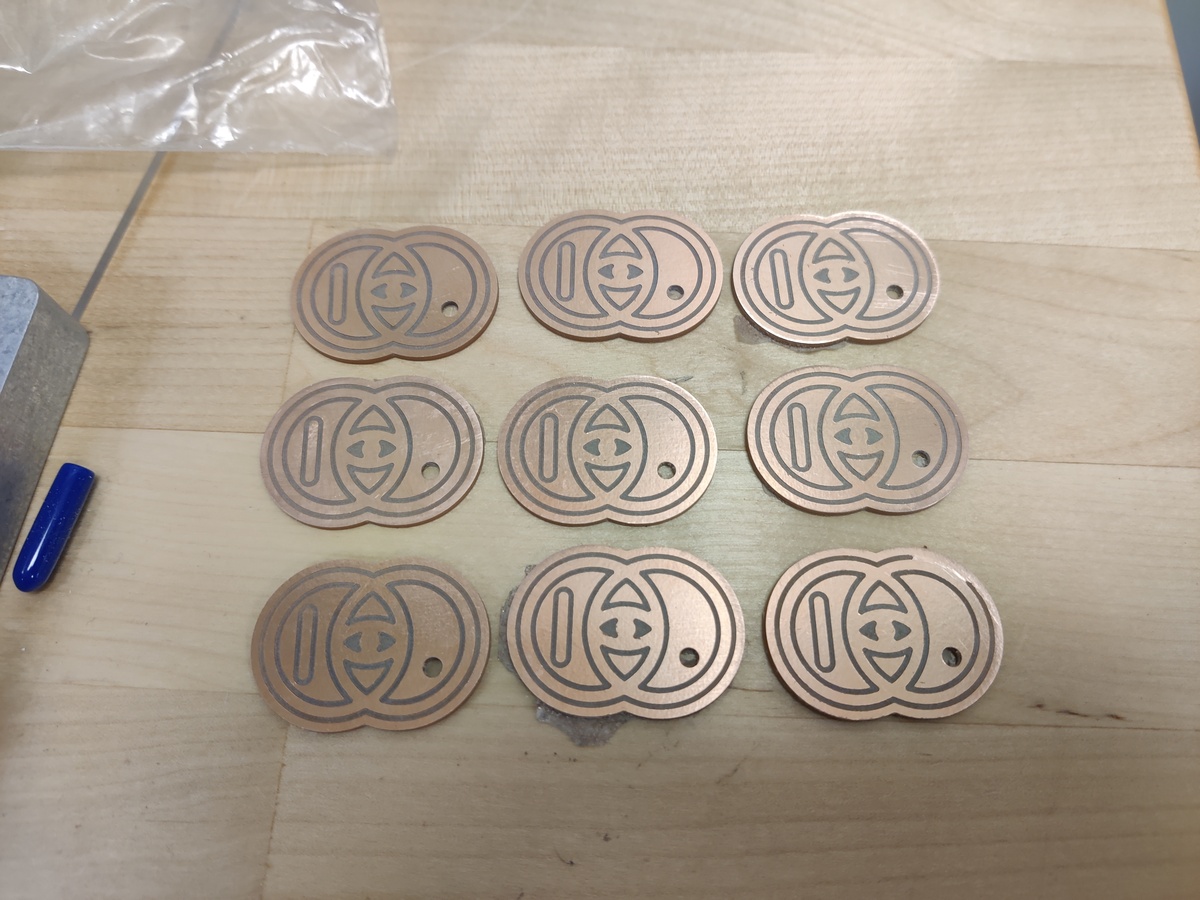
Note that #9 has a defect. Part of the trace wasn't etched deep enough. I sanded all of them but went too hard on #2 (row 2, column 1). It's kinda scratchy and I don't wanna risk sanding off everything. So I'm claiming it as my own and using it as a keyfob.
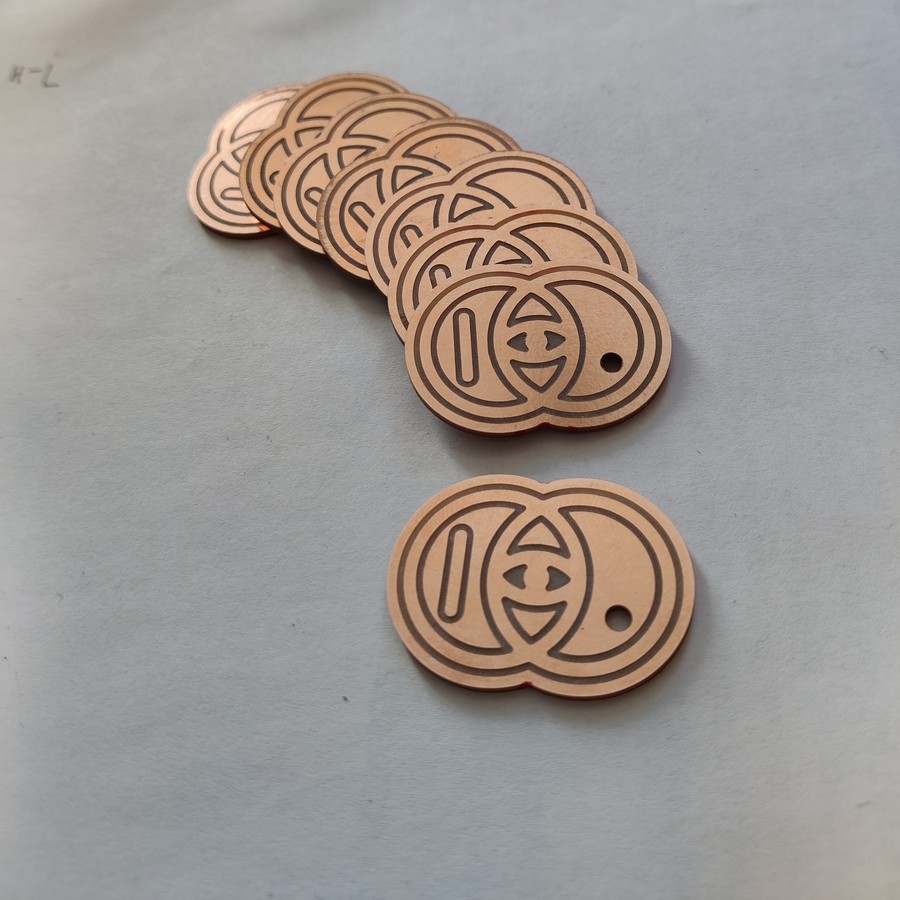
Overall, this was really cool. I enjoy abusing public resources for my useless projects, and I will do it again.
Pre-show update
2024-03-31 update: I was reminded there's a line in the opening track "DOWNSIDE":
And when I die I'll get those cold copper kisses on my eyes
Therefore, I am from now on calling them "cold copper kisses".
Despite the name, it is highly recommended that you do not kiss it.